More '87 Chevy "SubUrban Gorilla" Episodes
Xtreme 4x4 Builds
Want more content like this?
Join the PowerNation Email NewsletterEpisode Transcript
What good's a trail rig if you have nothing to tow it with
today, both the Spider Rock Rod and the suburban gorilla take shape. Plus, see how the Black Hills turn Jessi into a gearhead.
No,
welcome to Xtreme 4x4. A new season and a long list of projects to make this year and even bigger and better. Xtreme 4x4. We had a lot of discussion about what we were going to build this year. So we went truck hunting and this is what we came up with.
We've been getting a lot of emails and post for Toyota builds. So we grab to
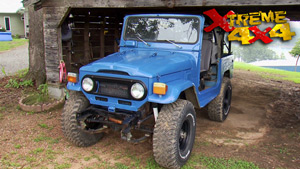
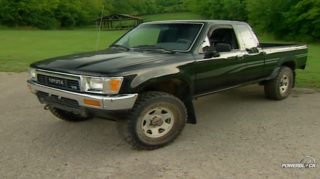
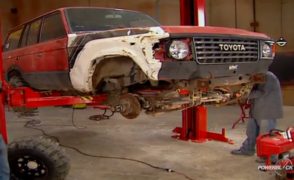
an old FJ 60 land cruiser on its last legs and the 91 Toyota with a little bit of an engine noise.
We might wanna fix that.
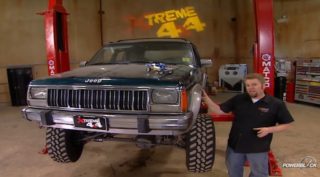
I won the coin toss. So the standard transmission has come out of the cheap Jeep
and we're going to swap in this automatic and transfer case that we picked up from the bone yard.
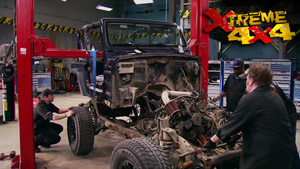
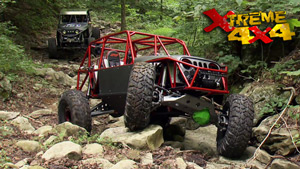
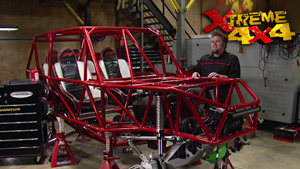
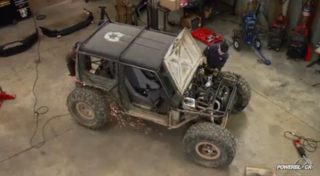
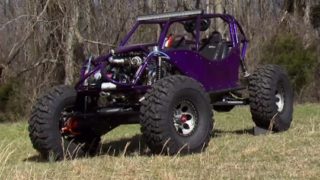
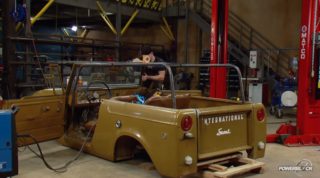
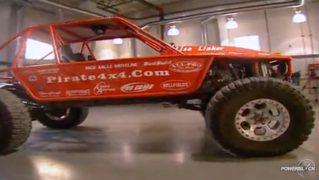
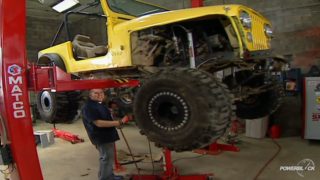
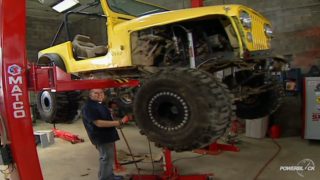
But before we roll anything new into this shop, we're going to tie up a couple loose ends on projects that are already here. So today we're jumping back on the poison Spider Bruise eight Rock Rod. And then we're going to be doing some work on the suburban gorilla.
And later today, we're going to be filling you in on the plans that we have for both of these rigs.
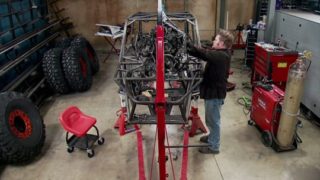
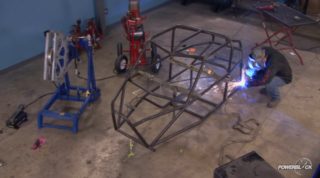
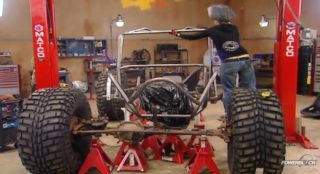
When we last left this Rock Rod, you can remember we had the wiring harness pulled all the way through the chassis.
And now we can start to hook up some of the accessories like this transmission cooler with integrated electric fan that we got from Hayden
using painless performances, weatherproof relay kit.
I will crimp all the wiring connection
rink, the tubing with a little heat,
hook up the relay
and the weatherproof circuit breaker,
flip of the switch to text
a
lot of us know how much fun at night is. But to be able to take full advantage of that, you got to have some rock lights to see the placement of your tires. No, normally you can use off road lights, but in this case, we're going to be using these led lights that we got from round. I,
I'll show you how they look. They actually cut the light.
Here we
go.
The nice thing about led S is that not only are they super bright but they draw almost zero AM.
So
never have to worry about draining your batteries or killing your alternator.
When positioning the rock lights, you wanna get as much light to the back side of the wheels as possible.
Pre drilling allows me to use self tapping screws with an islet for the ground.
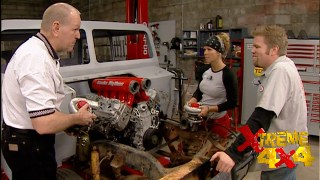
When it comes to two buggies and headers, you really only got two choices. You can build a set or find a set that fits. Now, we lucked out with these new LS one block huggers that we got from hooker headers. This is a super competition unit with an inch and a half primary into a 2.5 inch collector and the super thick flange at the head will help eliminate any leaks.
We're going to flow that exhaust through a couple of flow masters hush power to mufflers. This is a fully still welded body and it's got a unique flow through design.
Come on.
So you are going to put
because of where the transfer case that
there's a little bit of a lack of room down there. So we're going to be putting them right about here for the effect of heated seats.
Now, I'm just kidding. Once we get the floors in,
we're going to be using this, the
heat shield. It's going to block 85% of the heat and it's going to stick up to 450 degrees. It's not going to fall off.
We're going to use a flow master universal tailpipe kit to get the exhaust from the header to the muffler.
We'll trim some tubes to the fish
and then tack everything into place
and cut a turn down for the tail
fighters
back when the chassis was in their steel, we welded on the mountain for the hydraulic steering orbital.
Now that the axle is in place, we can go ahead and mount the steering cylinder that we got with the PSC off road steering kit.
All I gotta do is figure out where this thing is gonna be placed
and we should be good to go
with the tires and the cylinder in the straight ahead position.
I will attack the mounts in the place.
Then I'll shoot some compressed air to cycle the cylinder and check the clearances
grab.
Perfect.
Now, all I gotta do is finish. We, the tabs
now to get that will to turn along with this,
w we're going to need to make a crossover steering rod that attaches this crane high clearance steering arm over to the other side.
We're going to be using inch and a half half inch while the MT be
and then we're going to tap in some Q A one rod
to each end.
Now, the next piece of this hydraulic steering puzzle is going to be the pump that also came from PSE. Now the LS one small block ships from GM performance parts without any accessory drives. So we went to March performance for one of their LS one serpentine belt kits. It comes with all the brackets, pulleys and idlers to get a serp belt on the front of our engine and it comes in this build aluminum show polish that they then put a clear powder coat over. So the aluminum won't tarnish.
Now, the only issue we really have with this whole setup is this is an older style GM pump. And the LS one normally uses a micro pump or a mini pump that's a lot smaller than this one. So once we get everything mounted, we're going to have to fab up a bracket to make this pump work with the system.
And the only real headache there will be making our bracket look as good as the stuff that we got from March
up next one extreme host returns home to go crawling
while the other watches from above. Stop sightseeing Jessi and go four
wheeling
a new season here at extreme means all new events to cover from east to west and all places in between and one in the middle is the Dakota Territory challenge. Just so happens to be the place where I grew up.
You guys wanted to know a little bit more about me. Well, here we are my hometown of Rapid City, South Dakota.
Yes, this is where it all began. Even as a child. I knew exactly what I wanted to do for a living and practice every
day.
We're going to take this thing out. Plus major child on this. But first got
back to the shop
in it.
She was always, always extreme. She always did everything,
everything above and beyond for you. Kids out there that included getting good grades. And this is where I went to school
crap
city.
There's so many stories about Jessi, but none that I can tell on TV,
eight
where we're going now is a place called the Fallen Rock. This place where all my friends used to come and hang out and talk about rock climbing and rock crawling and four wheeling and
you name it, we would just come up here and hang out because it's only like 10 minutes away from rapping.
See, this is what it's all about South Dakota. Black Hills are freaking gorgeous.
The beauty of nature. It's really cool to see someone, you know, that we kind of grew up with and they've always been having fun with
make it and uh really do something fun.
It's all about coming home and wheeling with my boys, George
Teddy
Abe.
Always forget that other guy's name. Stop sightseeing Jessey and go four wheeling
when I come back to the Black Hills, one of my favorites trails is Hal Johns. It's one of the most extreme trails out here. It's got nasty rocks, gnarly drop offs. This thing is incredible.
Five plus rated trail for the Black Hills Four Wheelers
and uh offers some of the best wheeling that you see in the United States
here with my best buddy ever, Denny man, my old school four wheeling buddy.
Hey, Jessi, it's so great to have you back in South Dakota. Wheeling the hills again. You just like old times in the 60
got the cobwebs blowing off the buggy. Let's go. Hit the rocks. Quit standing around. I'm ready.
Just an hour from Rapid City Hall. Johns is made up of 24 sections
where the only constant is rocks and more rocks.
Who,
hey,
how's that feel for you?
And
what we got here is one obstacle on top of another obstacle on top of another.
It's, it's just, uh, kind of endless. It will keep your attention all day long. No boring sections on that trail.
Drive on these rocks. You gotta have a lot of patience. It's not just like
boo, boo
boo
boo and a truck that will allow you to do it for sure is an absolute necessity.
And Denny's rig was built to handle the Black Hills
for Jesse's return trip to the Black Hills, which put her in my custom built 1983 FJ 60 land cruiser.
When you're building a truck for out here in the hills, there's a lot of different things you have to take into account of.
We got, uh, sway away, coil over shocks.
16 inches of travel.
These babies,
you gotta have the articulation to crawl. Rocks out here.
It's key. You're driving over 5 ft boulders. You wanna keep as many tires on the ground as you possibly can.
A
girl, you know, and a lot of guys are die hard engine guys.
They're gonna put small block engines in their buggies.
Not me.
I went with the old Toyota six cylinder land cruiser motor.
She's been rowed hard and put away wet, but she still gets the job done at the famous elevator obstacle. I put Denny's baby up and down the 13 ft wall of rock. All without a problem.
It's a great day will and had a blast up at hell, John's. But the best part about it all is that I get to come home and sleep in my old bed. So see you later.
Go.
Bye
bye.
Looks like you had a great time and it's always fun to go home again. Yeah, I wish I knew whose house that was.
No, I'm just kidding. Thanks to all the Black Hills four Wheelers. I had an awesome time. It wouldn't have happened without you
and it's always nice to drive somebody else's truck.
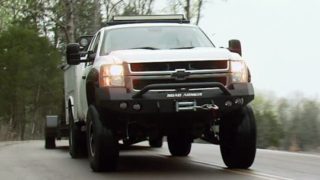
Welcome back to Xtreme 4x4 where we've been working on the poison spider. Our first ever tube chassis. All we got to do is tie up all the loose ends and this thing's ready for the trail. But before this thing can hit the trail or anything else we build for that matter, it's got to be towed there and that leads us to the other project we're working on today. Our tow monster
gorilla.
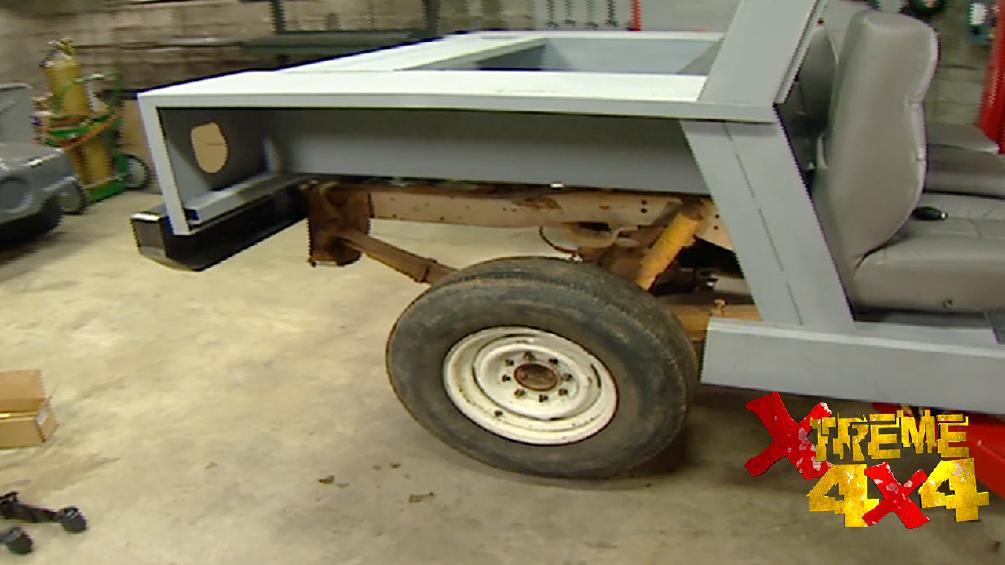
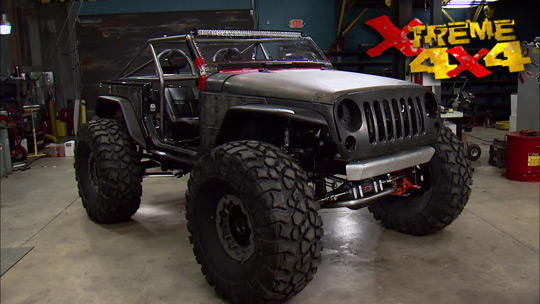
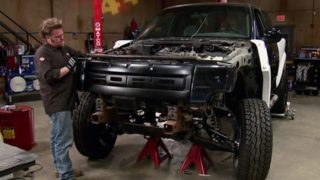
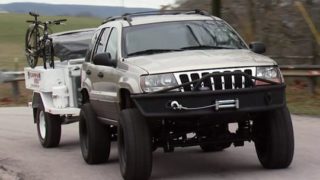
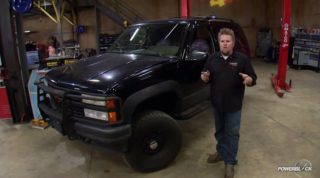
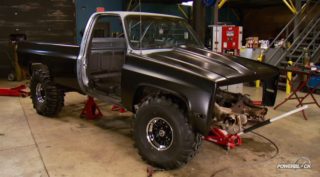
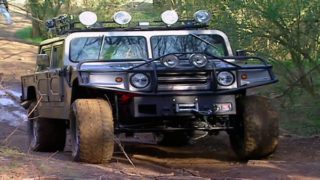
We started this project with a rusty 87 suburban that we stripped to the frame and dropped on an urban gorilla body from four by four bodies. Then Gay Banks stopped by to help design the first ever twin turbo
Duramax engine.
Then gale took all those mock up pieces back to California that will have finished units back here at extreme soon.
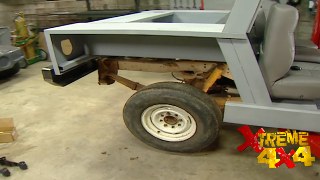
Now with the drive train pretty much nailed down for this tow monster. It was time for us to turn our attention towards the suspension and it all starts in the rear with a new set of leaf springs
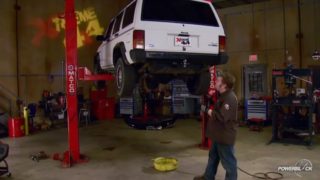
to calculate how much lift we're going to need in these springs on the rear. We set the vehicle on the ground and measured the height. Then we put it on the hoist and set it at the right height we wanted and calculated the difference between the stock and after market tires we're going to use. There's a two inch difference. So we know we need a two inch lift in the back. Now, we could accomplish that with a set of lift blocks like these from rough country.
But the problem with lift blocks is you can end up with a lot of axle wrap because of the force on them.
So we chose a set of completely rear leaf springs with Teflon blocks in between the leaves to keep them from squeaking and rattling. And we also grabbed a couple of rough country shocks.
The leaf spring vaulter seized to the sleeves.
Hello,
I can heat them up to take them out, but I'll just cut them off and replace them.
W eventually
they got,
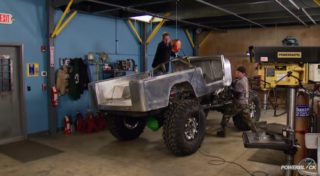
and you may have noticed our suburban Grilla doesn't have a rear quarter panel on it.
And the kit from four by four bodies comes with this fiberglass piece and it's trimmed to fit depending on the model. But before we cut into this, we wanna make sure that the wheel sits good in the opening. So
we're gonna just tape it in place for now
once this is tightened up and then we can just lower it down,
see how it sets
one.
Ok. J
Go
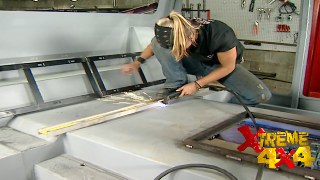
Ian will trim and secure the body panels to the gorilla while I fab up the floor for the spider
Ian. I'm sorry if I ever yelled at you for scratching the deep
that tend to slow a project down like this. One of the little things like cables and pedals, we went to local performance parts for one stop where they hooked us up with a dipstick to
our throttle cable and pedal for the LS one and we even got an eight ball shift.
Now at the back of this truck on its wheels, we can start to talk about the front suspension.
Now, the front of this suburban has a leaf sprung axle just like the rear, great for strength, not so good for the ride. So we're going to convert this to a coil spring front axle with parallel bars and a Panter bar. This is a five inch lift coil from rough country
that you'd normally find in their dodge four by four kit.
Now, this is going to mean we're going to have to tap into this frame, build an upper spring bucket, a perch for the axle, a bunch of link mounts and a lot of work. So we're going to save that for a different show, but this is just the beginning of the frame modifications we have to do to this thing. So for now the new tires and wheels on it
and get the body off.
Mhm
The floors are in the shift are in, the pedals are on, the cables are connected. I hear you say you burned your shirt.
Yeah, I did that when I was finished welding the exhaust. What's up with this dude? It's big. It's huge.
I feel like I'm driving a school bus. Come along kid. Let's go to class.
Ok. We'll be right back.
Welcome back to Xtreme 4x4
with the body off the frame. We can pull this chassis out so we can start to do the modifications before we slide a drive train back in there.
The last time to go in the poison spider is going to be this custom fuel cell we got from Rock Valley.
When mocking everything up, we built a cardboard tank to test the fit
after sending in the drawing. This is what Rock Valley sent us a fully welded and baffled tank with mountain tags.
It's also got an LS
in tan,
you pump a spot for sending unit
a spill proof cap
and a roll over.
The question. We keep getting asked about this drive train
is how are we going to mount this two or three range case? That's part of our
D doubler set up into the back of our Hill Killer Allison 1000 transmission. But it took some time in a call to advanced adapters because the Allison has a 29 spine output and the two or three has a 32 spine input
and
makes this sledge that's going to allow us to adapt the two of them together
and with the shafts bolted up, the next thing we have to do is work on the cases. So advance also sent us this clocking ring for the 203 and one spacer to go behind the Allison and we're probably going to end up running a couple of these. But once this is together for now, we can measure for the second
with the clocking ring in place. We can mark
drill and tap the mounting holes,
then bolted in place using a little lock Tate on the bolts
and then attach the whole thing to the back of the Allison.
Before
we get that drive train in, we got box this frame for extra strength. And then the next time we wait, oh,
the next time we're on this truck, the frame will be fully boxed. We'll take you step by step to the coal spring conversion on the front and we'll be putting the drive train in place as for the poison spider, all we gotta do is wait for all the plumbing stuff to come in and the drive shafts and that thing's done.
Show Full Transcript
today, both the Spider Rock Rod and the suburban gorilla take shape. Plus, see how the Black Hills turn Jessi into a gearhead.
No,
welcome to Xtreme 4x4. A new season and a long list of projects to make this year and even bigger and better. Xtreme 4x4. We had a lot of discussion about what we were going to build this year. So we went truck hunting and this is what we came up with.
We've been getting a lot of emails and post for Toyota builds. So we grab to
an old FJ 60 land cruiser on its last legs and the 91 Toyota with a little bit of an engine noise.
We might wanna fix that.
I won the coin toss. So the standard transmission has come out of the cheap Jeep
and we're going to swap in this automatic and transfer case that we picked up from the bone yard.
But before we roll anything new into this shop, we're going to tie up a couple loose ends on projects that are already here. So today we're jumping back on the poison Spider Bruise eight Rock Rod. And then we're going to be doing some work on the suburban gorilla.
And later today, we're going to be filling you in on the plans that we have for both of these rigs.
When we last left this Rock Rod, you can remember we had the wiring harness pulled all the way through the chassis.
And now we can start to hook up some of the accessories like this transmission cooler with integrated electric fan that we got from Hayden
using painless performances, weatherproof relay kit.
I will crimp all the wiring connection
rink, the tubing with a little heat,
hook up the relay
and the weatherproof circuit breaker,
flip of the switch to text
a
lot of us know how much fun at night is. But to be able to take full advantage of that, you got to have some rock lights to see the placement of your tires. No, normally you can use off road lights, but in this case, we're going to be using these led lights that we got from round. I,
I'll show you how they look. They actually cut the light.
Here we
go.
The nice thing about led S is that not only are they super bright but they draw almost zero AM.
So
never have to worry about draining your batteries or killing your alternator.
When positioning the rock lights, you wanna get as much light to the back side of the wheels as possible.
Pre drilling allows me to use self tapping screws with an islet for the ground.
When it comes to two buggies and headers, you really only got two choices. You can build a set or find a set that fits. Now, we lucked out with these new LS one block huggers that we got from hooker headers. This is a super competition unit with an inch and a half primary into a 2.5 inch collector and the super thick flange at the head will help eliminate any leaks.
We're going to flow that exhaust through a couple of flow masters hush power to mufflers. This is a fully still welded body and it's got a unique flow through design.
Come on.
So you are going to put
because of where the transfer case that
there's a little bit of a lack of room down there. So we're going to be putting them right about here for the effect of heated seats.
Now, I'm just kidding. Once we get the floors in,
we're going to be using this, the
heat shield. It's going to block 85% of the heat and it's going to stick up to 450 degrees. It's not going to fall off.
We're going to use a flow master universal tailpipe kit to get the exhaust from the header to the muffler.
We'll trim some tubes to the fish
and then tack everything into place
and cut a turn down for the tail
fighters
back when the chassis was in their steel, we welded on the mountain for the hydraulic steering orbital.
Now that the axle is in place, we can go ahead and mount the steering cylinder that we got with the PSC off road steering kit.
All I gotta do is figure out where this thing is gonna be placed
and we should be good to go
with the tires and the cylinder in the straight ahead position.
I will attack the mounts in the place.
Then I'll shoot some compressed air to cycle the cylinder and check the clearances
grab.
Perfect.
Now, all I gotta do is finish. We, the tabs
now to get that will to turn along with this,
w we're going to need to make a crossover steering rod that attaches this crane high clearance steering arm over to the other side.
We're going to be using inch and a half half inch while the MT be
and then we're going to tap in some Q A one rod
to each end.
Now, the next piece of this hydraulic steering puzzle is going to be the pump that also came from PSE. Now the LS one small block ships from GM performance parts without any accessory drives. So we went to March performance for one of their LS one serpentine belt kits. It comes with all the brackets, pulleys and idlers to get a serp belt on the front of our engine and it comes in this build aluminum show polish that they then put a clear powder coat over. So the aluminum won't tarnish.
Now, the only issue we really have with this whole setup is this is an older style GM pump. And the LS one normally uses a micro pump or a mini pump that's a lot smaller than this one. So once we get everything mounted, we're going to have to fab up a bracket to make this pump work with the system.
And the only real headache there will be making our bracket look as good as the stuff that we got from March
up next one extreme host returns home to go crawling
while the other watches from above. Stop sightseeing Jessi and go four
wheeling
a new season here at extreme means all new events to cover from east to west and all places in between and one in the middle is the Dakota Territory challenge. Just so happens to be the place where I grew up.
You guys wanted to know a little bit more about me. Well, here we are my hometown of Rapid City, South Dakota.
Yes, this is where it all began. Even as a child. I knew exactly what I wanted to do for a living and practice every
day.
We're going to take this thing out. Plus major child on this. But first got
back to the shop
in it.
She was always, always extreme. She always did everything,
everything above and beyond for you. Kids out there that included getting good grades. And this is where I went to school
crap
city.
There's so many stories about Jessi, but none that I can tell on TV,
eight
where we're going now is a place called the Fallen Rock. This place where all my friends used to come and hang out and talk about rock climbing and rock crawling and four wheeling and
you name it, we would just come up here and hang out because it's only like 10 minutes away from rapping.
See, this is what it's all about South Dakota. Black Hills are freaking gorgeous.
The beauty of nature. It's really cool to see someone, you know, that we kind of grew up with and they've always been having fun with
make it and uh really do something fun.
It's all about coming home and wheeling with my boys, George
Teddy
Abe.
Always forget that other guy's name. Stop sightseeing Jessey and go four wheeling
when I come back to the Black Hills, one of my favorites trails is Hal Johns. It's one of the most extreme trails out here. It's got nasty rocks, gnarly drop offs. This thing is incredible.
Five plus rated trail for the Black Hills Four Wheelers
and uh offers some of the best wheeling that you see in the United States
here with my best buddy ever, Denny man, my old school four wheeling buddy.
Hey, Jessi, it's so great to have you back in South Dakota. Wheeling the hills again. You just like old times in the 60
got the cobwebs blowing off the buggy. Let's go. Hit the rocks. Quit standing around. I'm ready.
Just an hour from Rapid City Hall. Johns is made up of 24 sections
where the only constant is rocks and more rocks.
Who,
hey,
how's that feel for you?
And
what we got here is one obstacle on top of another obstacle on top of another.
It's, it's just, uh, kind of endless. It will keep your attention all day long. No boring sections on that trail.
Drive on these rocks. You gotta have a lot of patience. It's not just like
boo, boo
boo
boo and a truck that will allow you to do it for sure is an absolute necessity.
And Denny's rig was built to handle the Black Hills
for Jesse's return trip to the Black Hills, which put her in my custom built 1983 FJ 60 land cruiser.
When you're building a truck for out here in the hills, there's a lot of different things you have to take into account of.
We got, uh, sway away, coil over shocks.
16 inches of travel.
These babies,
you gotta have the articulation to crawl. Rocks out here.
It's key. You're driving over 5 ft boulders. You wanna keep as many tires on the ground as you possibly can.
A
girl, you know, and a lot of guys are die hard engine guys.
They're gonna put small block engines in their buggies.
Not me.
I went with the old Toyota six cylinder land cruiser motor.
She's been rowed hard and put away wet, but she still gets the job done at the famous elevator obstacle. I put Denny's baby up and down the 13 ft wall of rock. All without a problem.
It's a great day will and had a blast up at hell, John's. But the best part about it all is that I get to come home and sleep in my old bed. So see you later.
Go.
Bye
bye.
Looks like you had a great time and it's always fun to go home again. Yeah, I wish I knew whose house that was.
No, I'm just kidding. Thanks to all the Black Hills four Wheelers. I had an awesome time. It wouldn't have happened without you
and it's always nice to drive somebody else's truck.
Welcome back to Xtreme 4x4 where we've been working on the poison spider. Our first ever tube chassis. All we got to do is tie up all the loose ends and this thing's ready for the trail. But before this thing can hit the trail or anything else we build for that matter, it's got to be towed there and that leads us to the other project we're working on today. Our tow monster
gorilla.
We started this project with a rusty 87 suburban that we stripped to the frame and dropped on an urban gorilla body from four by four bodies. Then Gay Banks stopped by to help design the first ever twin turbo
Duramax engine.
Then gale took all those mock up pieces back to California that will have finished units back here at extreme soon.
Now with the drive train pretty much nailed down for this tow monster. It was time for us to turn our attention towards the suspension and it all starts in the rear with a new set of leaf springs
to calculate how much lift we're going to need in these springs on the rear. We set the vehicle on the ground and measured the height. Then we put it on the hoist and set it at the right height we wanted and calculated the difference between the stock and after market tires we're going to use. There's a two inch difference. So we know we need a two inch lift in the back. Now, we could accomplish that with a set of lift blocks like these from rough country.
But the problem with lift blocks is you can end up with a lot of axle wrap because of the force on them.
So we chose a set of completely rear leaf springs with Teflon blocks in between the leaves to keep them from squeaking and rattling. And we also grabbed a couple of rough country shocks.
The leaf spring vaulter seized to the sleeves.
Hello,
I can heat them up to take them out, but I'll just cut them off and replace them.
W eventually
they got,
and you may have noticed our suburban Grilla doesn't have a rear quarter panel on it.
And the kit from four by four bodies comes with this fiberglass piece and it's trimmed to fit depending on the model. But before we cut into this, we wanna make sure that the wheel sits good in the opening. So
we're gonna just tape it in place for now
once this is tightened up and then we can just lower it down,
see how it sets
one.
Ok. J
Go
Ian will trim and secure the body panels to the gorilla while I fab up the floor for the spider
Ian. I'm sorry if I ever yelled at you for scratching the deep
that tend to slow a project down like this. One of the little things like cables and pedals, we went to local performance parts for one stop where they hooked us up with a dipstick to
our throttle cable and pedal for the LS one and we even got an eight ball shift.
Now at the back of this truck on its wheels, we can start to talk about the front suspension.
Now, the front of this suburban has a leaf sprung axle just like the rear, great for strength, not so good for the ride. So we're going to convert this to a coil spring front axle with parallel bars and a Panter bar. This is a five inch lift coil from rough country
that you'd normally find in their dodge four by four kit.
Now, this is going to mean we're going to have to tap into this frame, build an upper spring bucket, a perch for the axle, a bunch of link mounts and a lot of work. So we're going to save that for a different show, but this is just the beginning of the frame modifications we have to do to this thing. So for now the new tires and wheels on it
and get the body off.
Mhm
The floors are in the shift are in, the pedals are on, the cables are connected. I hear you say you burned your shirt.
Yeah, I did that when I was finished welding the exhaust. What's up with this dude? It's big. It's huge.
I feel like I'm driving a school bus. Come along kid. Let's go to class.
Ok. We'll be right back.
Welcome back to Xtreme 4x4
with the body off the frame. We can pull this chassis out so we can start to do the modifications before we slide a drive train back in there.
The last time to go in the poison spider is going to be this custom fuel cell we got from Rock Valley.
When mocking everything up, we built a cardboard tank to test the fit
after sending in the drawing. This is what Rock Valley sent us a fully welded and baffled tank with mountain tags.
It's also got an LS
in tan,
you pump a spot for sending unit
a spill proof cap
and a roll over.
The question. We keep getting asked about this drive train
is how are we going to mount this two or three range case? That's part of our
D doubler set up into the back of our Hill Killer Allison 1000 transmission. But it took some time in a call to advanced adapters because the Allison has a 29 spine output and the two or three has a 32 spine input
and
makes this sledge that's going to allow us to adapt the two of them together
and with the shafts bolted up, the next thing we have to do is work on the cases. So advance also sent us this clocking ring for the 203 and one spacer to go behind the Allison and we're probably going to end up running a couple of these. But once this is together for now, we can measure for the second
with the clocking ring in place. We can mark
drill and tap the mounting holes,
then bolted in place using a little lock Tate on the bolts
and then attach the whole thing to the back of the Allison.
Before
we get that drive train in, we got box this frame for extra strength. And then the next time we wait, oh,
the next time we're on this truck, the frame will be fully boxed. We'll take you step by step to the coal spring conversion on the front and we'll be putting the drive train in place as for the poison spider, all we gotta do is wait for all the plumbing stuff to come in and the drive shafts and that thing's done.
